
September 21, 2026
Glueless Wigs for Beginners: How to Put One On in 5 Minutes
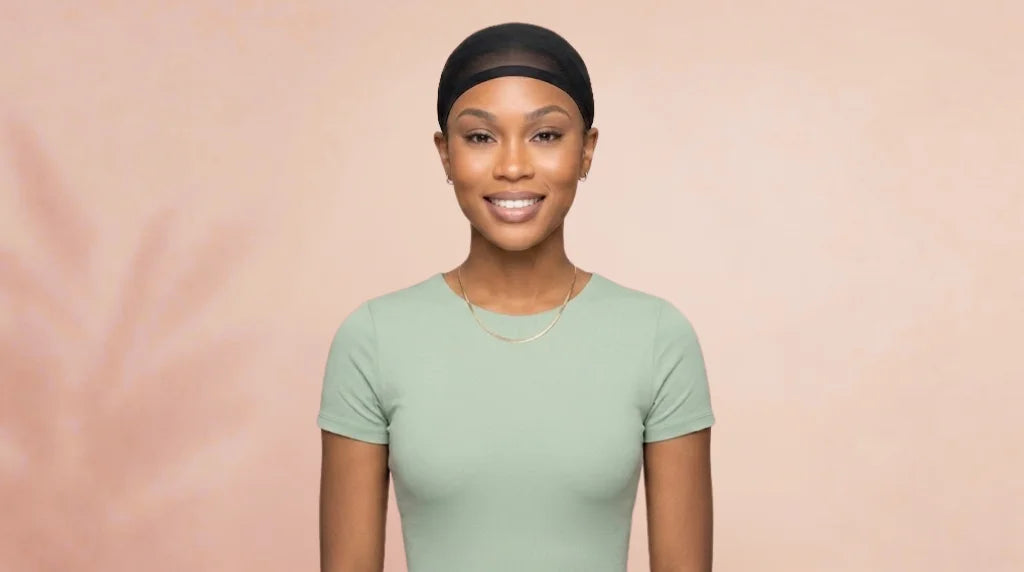
Almost everyone's first wig attempt goes the same way: you watch a 40-minute install video, buy glue you are afraid of, and end up with a hairline sitting an inch too far forward. It does not have to be like that.
This is a step-by-step guide to wearing your first glueless wig — what to buy, what to do with your own hair, how to put the unit on, and the five mistakes that make a good wig look obvious.
Why Beginners Should Start Glueless
With glue, every mistake is permanent for the day. Place the lace wrong and you are reaching for adhesive remover. With a glueless unit, you lift it off and try again. That one difference is why most people who start glueless keep wearing wigs, and most who start with adhesive give up.
You also skip the parts of wig-wearing that go wrong most often: skin reactions, lifting lace in humidity, and the slow thinning at the edges that comes from months of glue and remover.
What to Buy for Your First Wig
Pick a texture close to your own hair
Body wave and straight are the most forgiving for beginners. Tight curls are beautiful but harder to detangle and style while you are learning. Start with body wave or straight.
Choose a natural colour first
Natural black (1B) or a dark brown hides any imperfection in the install. Blonde and burgundy are stunning, but they show every misplaced strand. You can move to ombre and coloured units once you are confident.
Length: shorter is easier
A 16–22 inch unit is far easier to manage than 30 inches. Long hair tangles, needs more product and takes longer to wash. If you want drama later, our long wig collection goes up to 40 inches.
Density: 150–180% is the sweet spot
Below 150% can look sparse. Above 220% looks full but reads as "wig" on a smaller frame. 150–180% is closest to the density of natural hair.
Lace type matters more than anything
Get HD transparent lace with a pre-plucked hairline. This is the single biggest factor in whether a wig looks real. Every unit in our glueless collection ships pre-plucked on HD Swiss lace.
What You Actually Need
- A wig cap in a shade close to your scalp
- A wide-tooth comb and a soft bristle brush
- Edge control or light mousse for the baby hairs
- A wig stand for storage
- Optional: a thin elastic band for extra front security
That is it. No glue, no melting spray, no remover.
Step 1: Prepare Your Own Hair
The flatter your hair sits, the flatter the wig sits. This step does more for the final look than anything else.
- Long hair: braid it in flat cornrows front to back, or two flat braids pinned down. Avoid a bun at the crown — it creates a bump.
- Medium hair: flat twists pinned close to the scalp.
- Short hair: slick it back with a little gel and let it set.
- No hair: go straight to the wig cap; a bald cap is not necessary.
Then put on the wig cap and pull it down to your own hairline. Tuck in any stray hair at the nape and temples.
Step 2: Set Up the Wig
Before it goes anywhere near your head:
- Loosen both adjustable straps all the way. Trying to force a tight cap on is how parts get knocked out of place.
- Comb the hair out from the ends upwards with a wide-tooth comb while it sits on a stand.
- Decide your parting now and comb it in. It is much harder once the unit is on your head.
Step 3: Put It On
- Hold the wig by the ear tabs, one in each hand.
- Place the front first. Put the lace down about a finger's width behind your natural hairline. Most beginners place it too far forward, which is the single most common giveaway.
- Roll it back over your head in one movement until the nape sits where you want it.
- Check both ear tabs are level. Look in the mirror from the front. Crooked tabs mean a crooked parting.
- Press in the front comb, then the nape comb, then the sides.
- Tighten the straps evenly — a notch on one side, then the other. Snug, not tight. You should fit one finger under the cap at the nape.
Step 4: Finish the Hairline
This is the part that sells it.
- Brush the baby hairs forward and separate them with your fingers.
- Apply a little edge control with a soft brush and shape them in loose S-curves, not tight stiff swoops.
- Tie a silk scarf around the perimeter for 10 minutes while you get dressed. It sets everything flat.
- Add concealer only if needed — a light dust of powder close to your skin tone along the parting, blended well.
Five Mistakes That Make a Wig Look Like a Wig
1. Placing it too far forward
Your natural hairline is a reference point. The wig should sit just behind it, not cover your forehead.
2. Over-tightening the straps
Painful, gives you a headache, and pulls on your own edges. Snug is enough.
3. Too much density for your frame
If the hair looks twice as thick as your own ever was, it reads as a wig regardless of lace quality.
4. Leaving the hairline blunt
Real hairlines are irregular. Even on a pre-plucked unit, tweezing a few strands at random along the edge helps enormously.
5. Never washing it
Product builds up, the hair goes limp and the lace turns shiny. Wash every 7–10 wears.
How Long Does It Take?
Honestly: 20 minutes the first time, 10 the second, 5 after that. The braiding underneath takes longer than the wig itself.
Frequently Asked Questions
Do I need a wig cap with a glueless wig?
Strongly recommended. The combs need something to grip, and the cap stops your own hair showing through at the parting. Nude mesh is the most invisible.
Can I wear a glueless wig every day?
Yes. Take it off at night, keep your own hair moisturised underneath, and give your scalp a break on washday.
What if the cap is too big?
The adjustable straps shrink an average cap by up to an inch, which covers most people. If it still slips, add a thin elastic band sewn across the nape, or wear a slightly thicker wig cap.
Does a glueless wig stay on in wind?
Yes, with the combs in and the straps adjusted. If you will be outdoors all day, add an elastic band across the front for peace of mind.
Can I exercise in it?
Light exercise, yes. For heavy workouts or swimming, a headband wig is a better choice — nothing to shift and nothing to blend.
Start Here
If you want one recommendation to begin with: a natural-colour body wave glueless unit, 18–22 inches, 180% density, 13x4 HD lace. It suits almost everyone, forgives a sloppy install and works for both work and weekends.
Read next: What Are Glueless Wigs? A Complete Guide for First-Time Wearers.
Browse beginner-friendly glueless wigs at Wigour — 100% Remy human hair, pre-plucked HD lace, free US shipping, and 30-day returns if it is not right.